Outlook is the most used Email client that allow you to check your email hosted with Neoxea. This article focus on the POP3 setup but you can also configure as IMAP. If you are not sure which one to choose, follow our IMAP vs POP 3 guide to learn about the differences.
Incoming Email (IMAP)
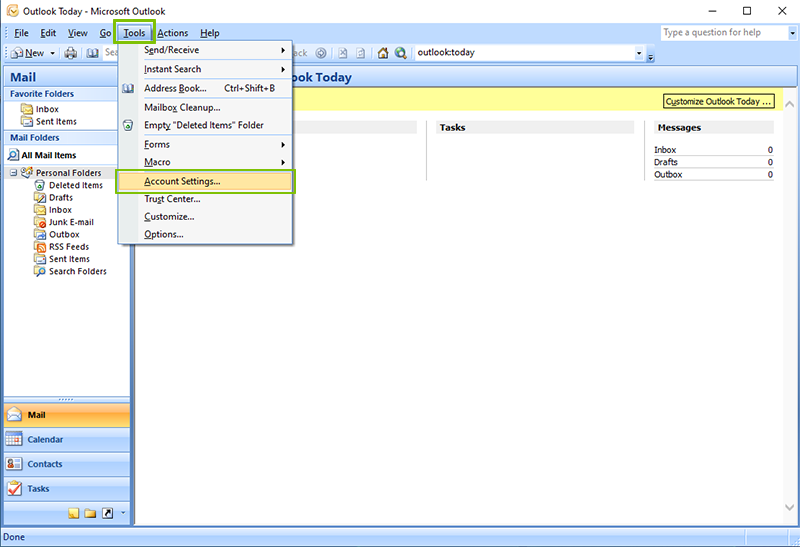
Step 1. Open your Microsoft Outlook 2007 application and click Tools and then Account Settings.
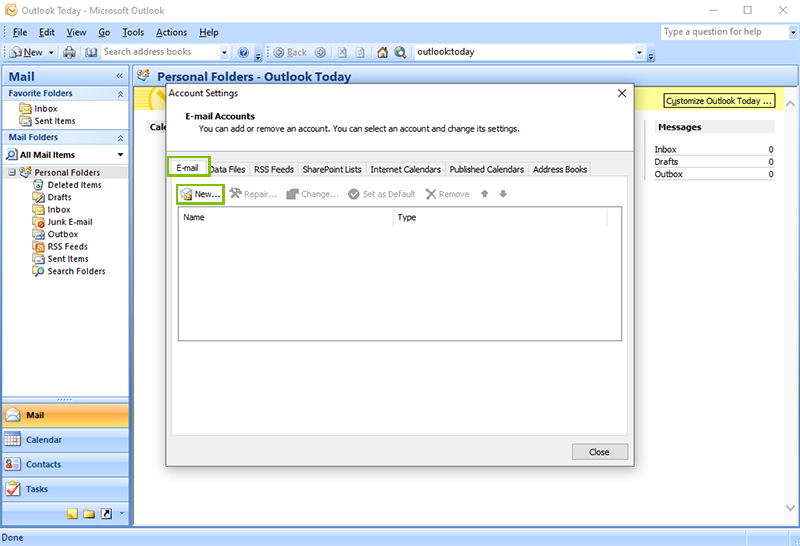
Step 2. Click on the E-mail button to view the possible options and then click on the New button.
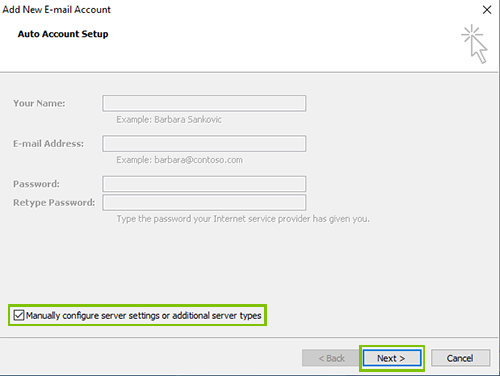
Step 3. Select the option Manually configure server settings or additional server types.
Click on the Next button.
Step 4. Select the Internet E-mail option.
Click on the Next button.

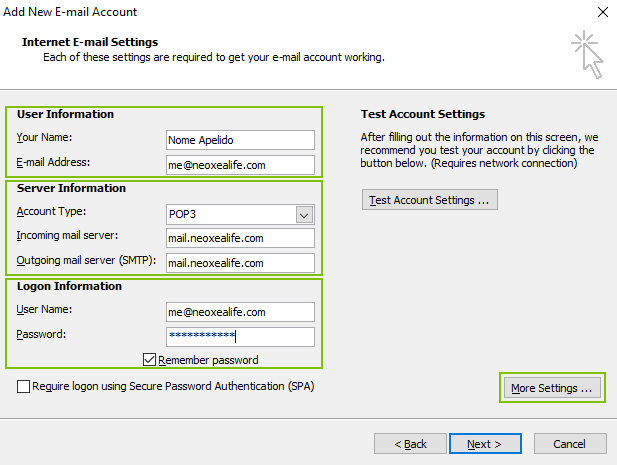
Step 5. In User Information, enter your Name and also your full email address in the format [email protected] (in our example we used [email protected]).
Select POP3 in Account Type and enter the name of the servers in the format mail.domain.tld (in our example we used mail.neoxealife.com)
Then enter the full email address in the format [email protected] (in our example we used [email protected]) and also the respective Password.
Click on the More Settings button.
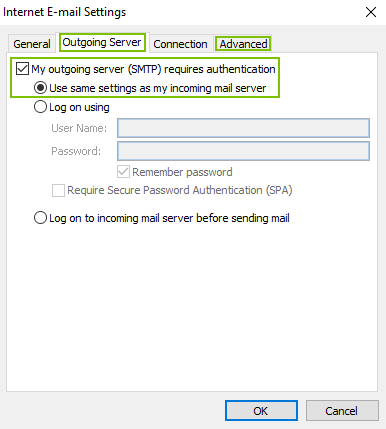
Step 6. Click on Outgoing Server and select My outgoing server (SMTP) requires authentication.
Click on Advanced.
Step 7. In Incoming server (POP3) enter port 995 and select the option This server requires an encrypted connection (SSL).
In Outgoing server (SMTP) enter port 587 and select the TLS option.
Click OK.

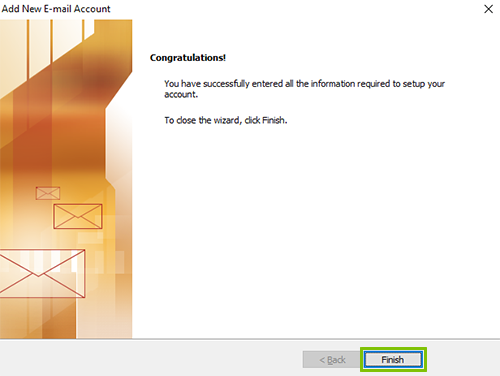
Step 8. Your Mailbox is now configured to send and receive emails via POP3.
Click Finish to return to the Outlook 2007 home screen
Step 9. In case you have more than one mailbox configured, you need to select the mailbox you want to check configurations for. In our example, we continue with the email address “[email protected]”.
After the previous selection, click on the Account Settings buttom and then click on Server Settings option to show advanced settings.
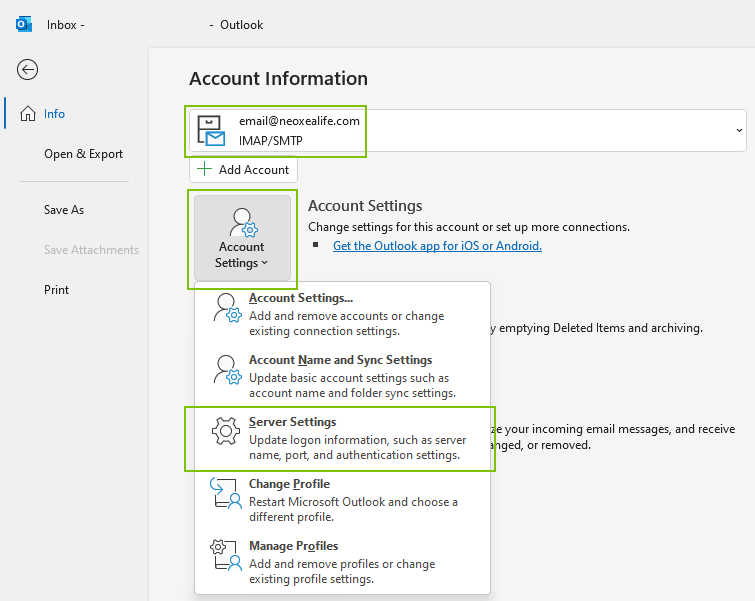
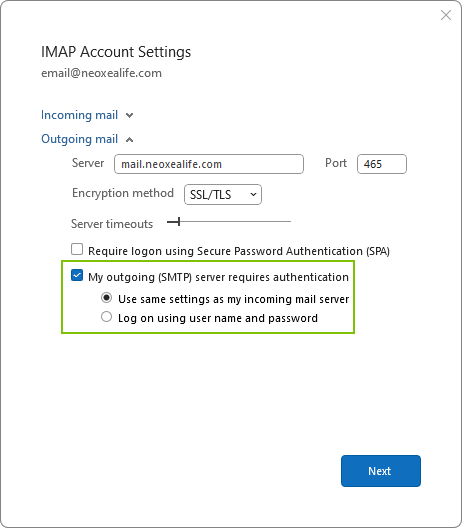
Step 10. On the Outgoing mail settings, make sure “My outgoing (SMTP) server requires authentication” option is enabled and also the option “Use the same settings as my incoming mail server” is selected. Click Next to proceed.
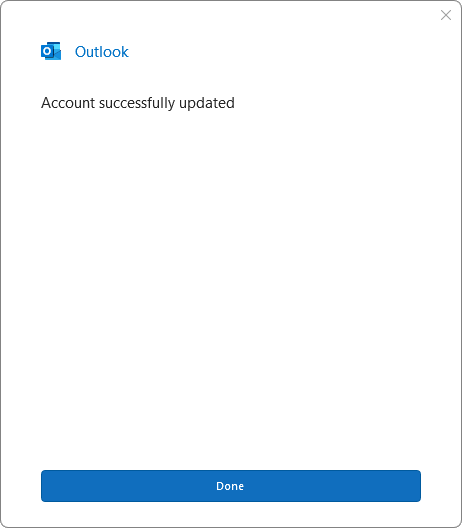
Step 11. After Microsoft Outlook update your settings, you have successfuly setup your email in Outlook and are now ready to send and receive messages. Click Done.