Apple Mail is a very simple Email client that allow you to check your email hosted with Neoxea. This article focus on the IMAP setup but you can also configure as POP3. If you are not sure which one to choose, follow our IMAP vs POP 3 guide to learn about the differences.
Incoming Email (IMAP)
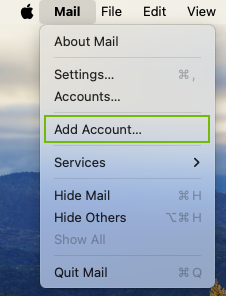
Step 1. Open your Apple Mail application, and click Add Account.
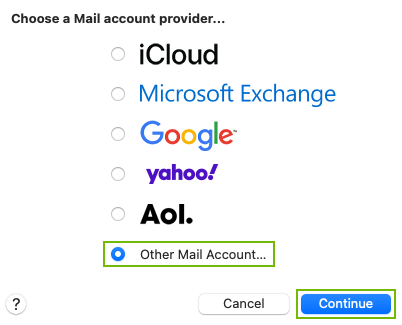
Step 2. Select Other Mail Account and click Continue.
Step 3. Type your Name, Email Address and corresponding Password.
In our example we use the email [email protected], but you should type in your email address.
Additionally click Sign In.
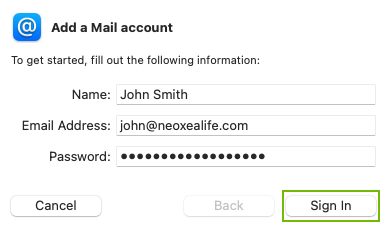
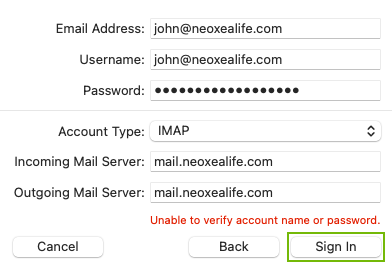
Step 4. Make sure all fields have the correct information and click Sign In.
Outgoing Email (IMAP)
Apple Mail requires that we manually setup the sending options.
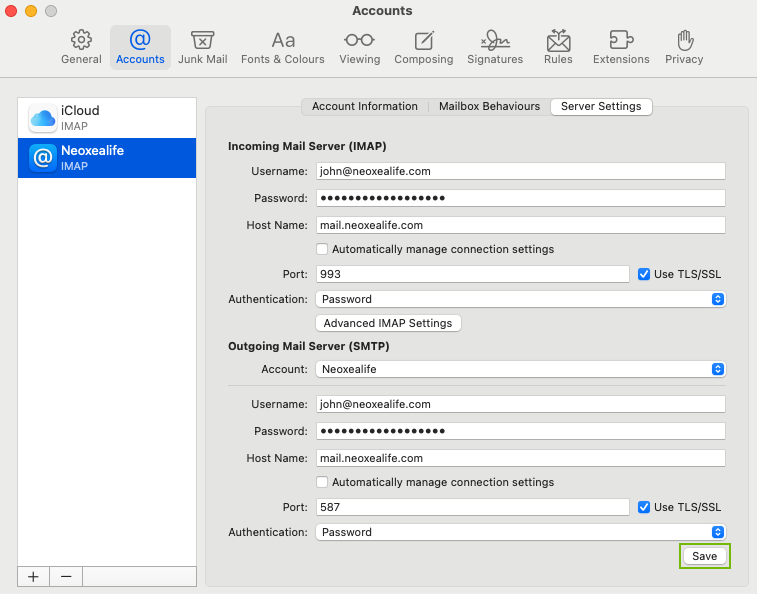
Step 8. In your Apple Mail application, click Settings.

Step 9. Make sure you have the correct Email Account selected on the left column (blue background) and click Server Settings.

Step 10. Click on the checkboxes to disable Automatically manage connection settings. Make sure your setting is replicating the setup below and click Save.