If you choose to manage your Domain DNS using Cloudflare it’s required to have specific setup to make it work with Neoxea email service.
Update Domain DNS
The steps below need to be performed in the Cloudflare DNS dashboard.
Step 1. Add the following MX records to your Cloudflare DNS:
| Type | Name | Mail server | TTL | Priority |
| MX | @ | mx.spamexperts.com | 60 | 10 |
| MX | @ | fallbackmx.spamexperts.eu | 60 | 20 |
| MX | @ | lastmx.spamexperts.net | 60 | 30 |
Step 2. Add mail as an A record to your Domain DNS:
The Content is the Neoxea Shared IP Address that you can find in your cPanel.
The end result should look like this:

Step 3. Add SPF to TXT record of your Domain DNS:
| Type | Name | TTL | Content |
| TXT | @ | 60 | “v=spf1 +a +mx include:relay.mailchannels.net -all” |
The end result should look like this:

SpamExperts validation
Check if SpamExperts service is provisioned in our platform, and if email routing is properly setup.
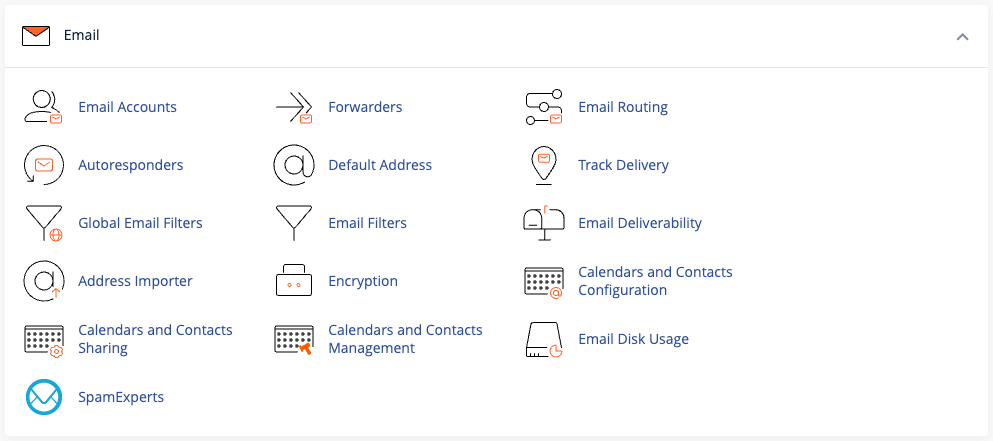
Step 4. Go to your cPanel and click on SpamExperts icon.
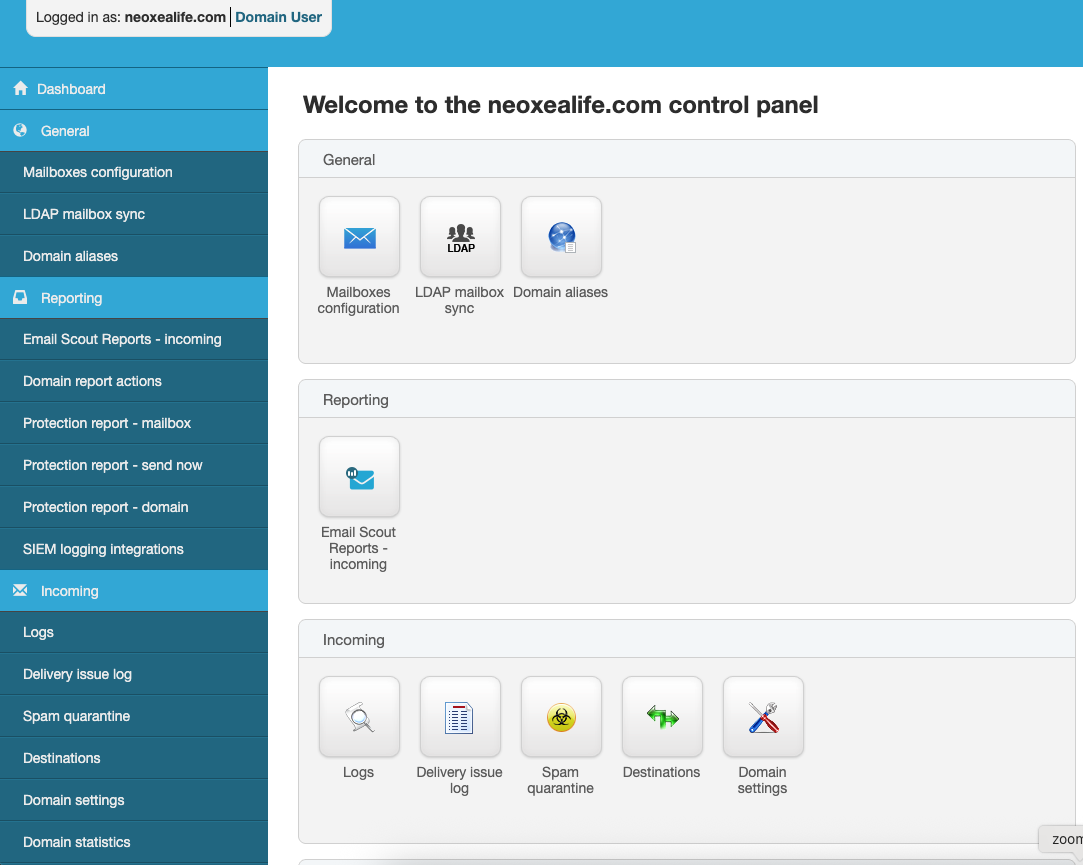
Step 5. Click on Login button.

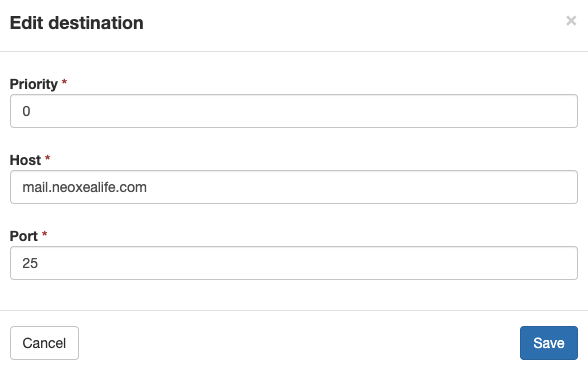
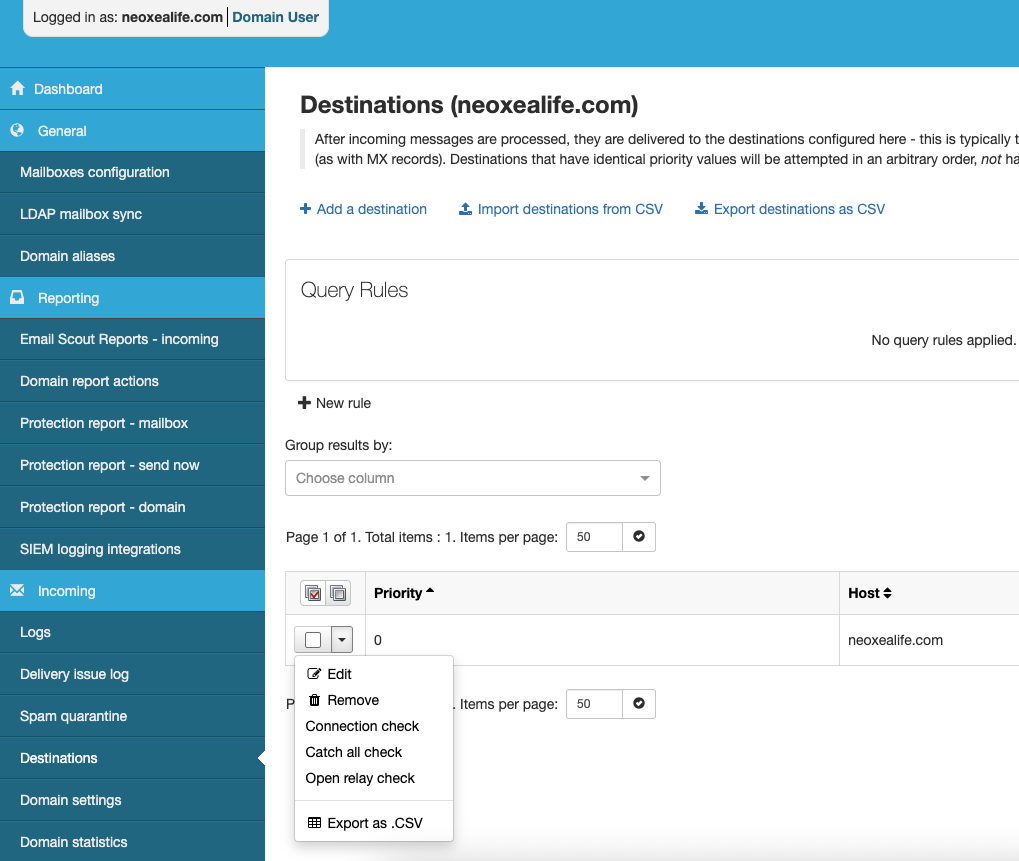
Step 6. Click on Destinations.
Step 6. Click on Edit.
Step 6. Edit Host field, change to mail.neoxealife.com and click Save.