Gmail is a great email client that allows you to check your gmail.com email account and custom domains you have registered with Neoxea or setup to work with your cPanel account.
This article is a 2-step configuration. First, we will cover the Incoming Email configuration below and, secondly, the Sending Email configuration.
Incoming Email (POP3)
Step 1. Login to your Gmail account.
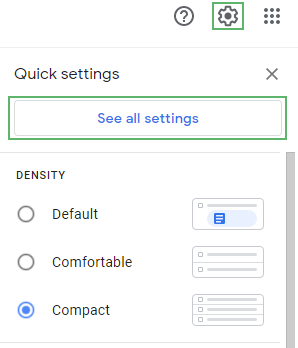
Step 2. Open the Settings by clicking the Gear icon in the top lefthand corner, then click See all settings.
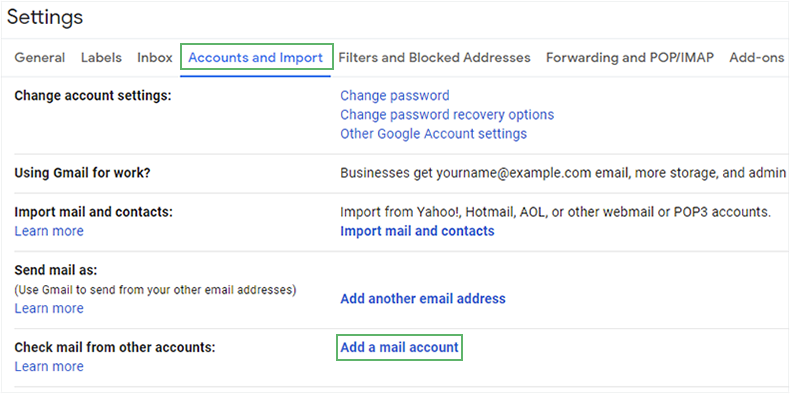
Step 3. Click Accounts and Import. Scroll down, and click Add a mail account.
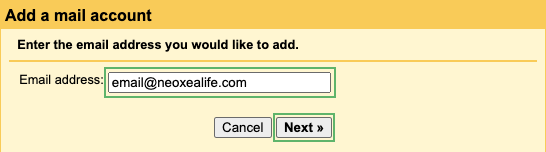
Step 4. Enter the email address and click Next
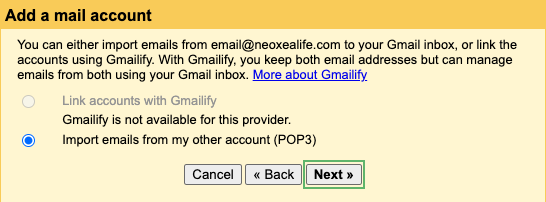
Step 5. Select Import emails from my other account (POP3) and click Next.
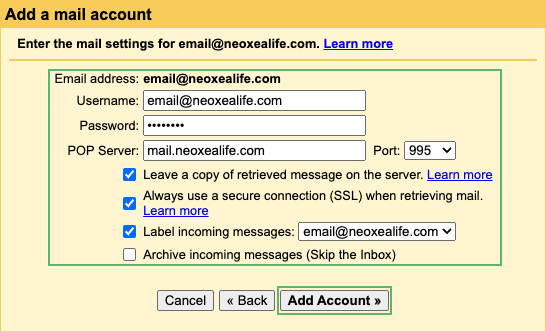
Step 6. For Username, please enter the full email address and its respective Password. Neoxea configures POP Server to be default mail.yourdomain.tld.
You can enable Leave a copy of retrieved message on the server if you want to save a copy of your emails on our servers. We suggest you enable it.
Enable Always use a secure connection (SSL) when retrieving mail to protect your data. Disabling this option will not work with Neoxea email platform.
The Label incoming messages is optional and entirely up to your preference.
Once you are happy with your preferences, Click Add Account to proceed.
Sending Email (SMTP)
Step 7. Unless you want to use this email just as an aliases to receive emails, it’s recommended to setup a sending email server in order to have your receipients receive email from your domain.tld and not your gmail.com email address.
Select the option Yes, I want to be able to send mail as [email protected] and click Next.

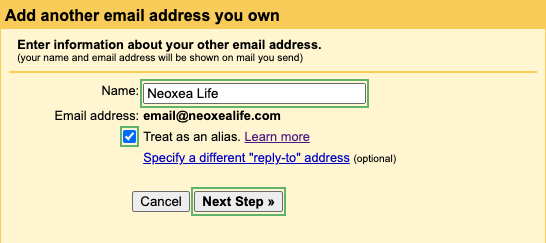
Step 8. Enter your Name or the name you want to appear on the email destination. Enable Treat as an alias to send email from your domain.tld instead of Gmail. Click Next Step.
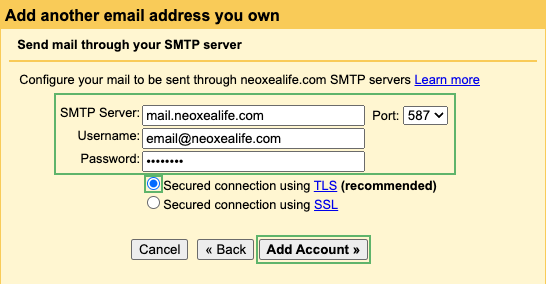
Step 9. Enter the SMTP Server, which is by default mail.domain.tld, and as Username your full email address and its Password.
Select Port 587 as the best way to secure your data and Enable Secured connection using TLS (recommended). Click Add Account to proceed.
Step 10. Your email is now setup but requires validation with Gmail.

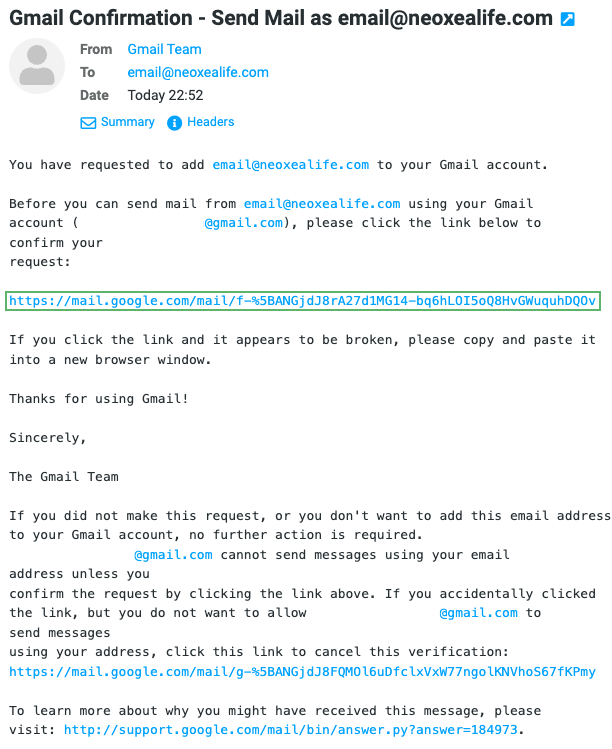
Step 11. Check your mailbox for the email from Gmail to confirm the code and verify your setup. Click on the link with the validation code.
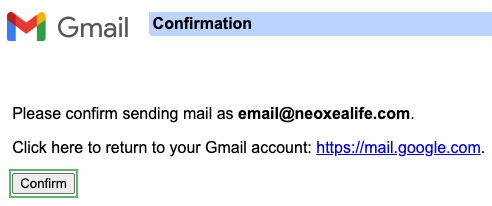
Step 12. Following the link from your email will lead you to a Gmail prompt to finally confirm the setup is complete. Click on Confirm.
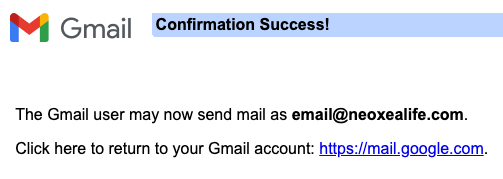
Step 13. Congratulations, your email is now setup successfully.