If you have a domain registered with Amen.pt and simultaneously an active Hosting service with Neoxea, it is recommended that you use our DNS.
Access the Amen Customer Area
Step 1. Access the Amen Customer Area and in the list of Domínios e Produtos on the right, click on the desired domain. In our example it is dominio.pt.

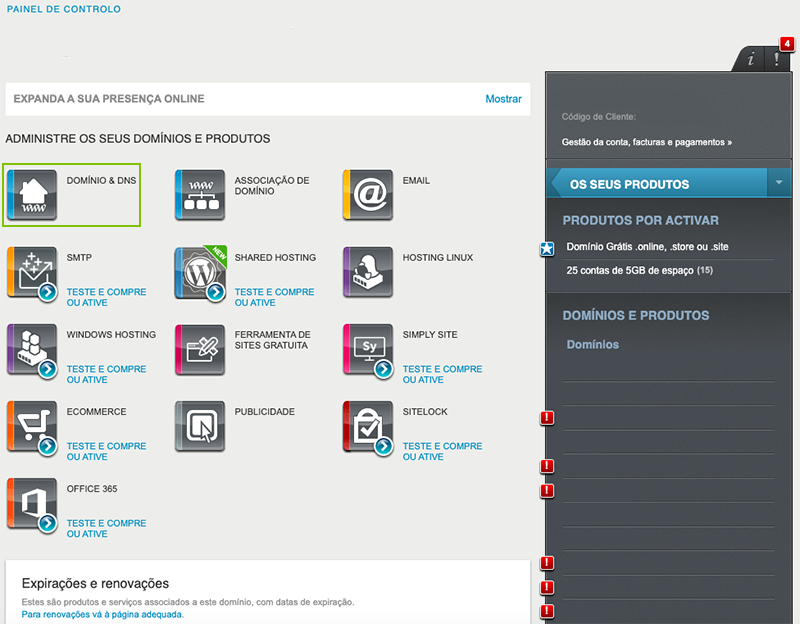
Step 2. Click on the Domínio & DNS button.
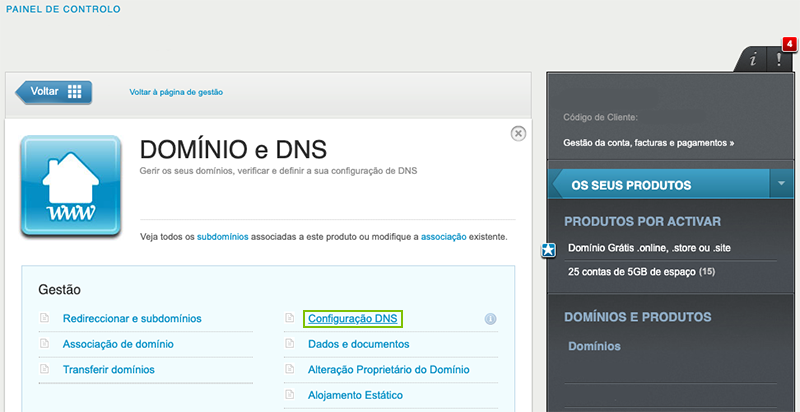
Step 3. Click on Configuração DNS.
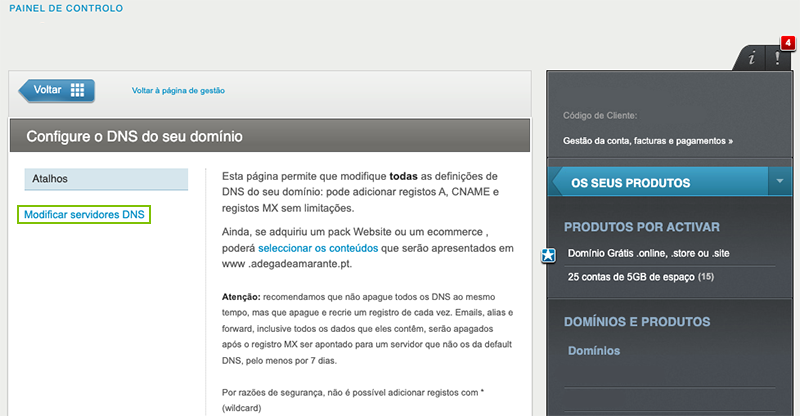
Step 4. Click on Modificar servidores DNS.
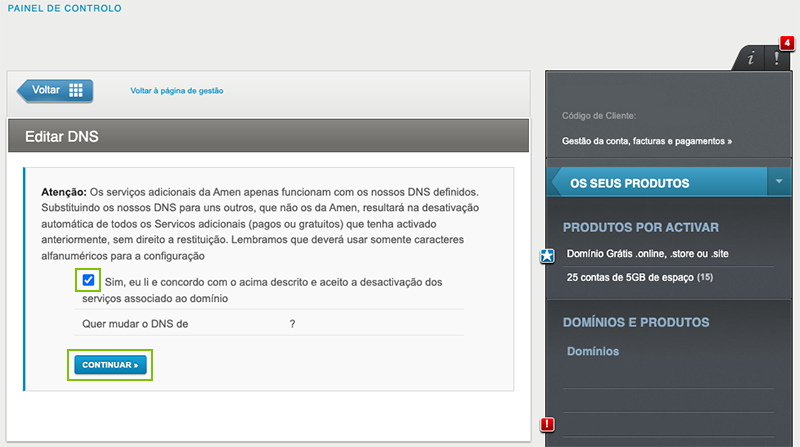
Step 5. Select Import emails from my other account (POP3) and click Next.
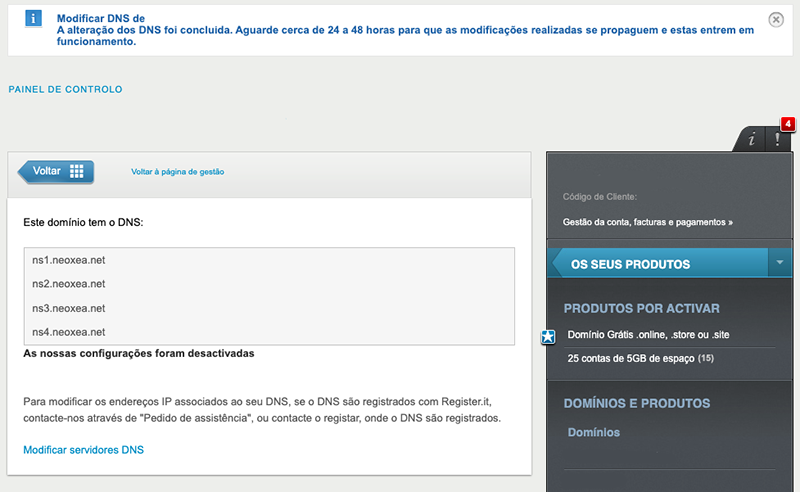
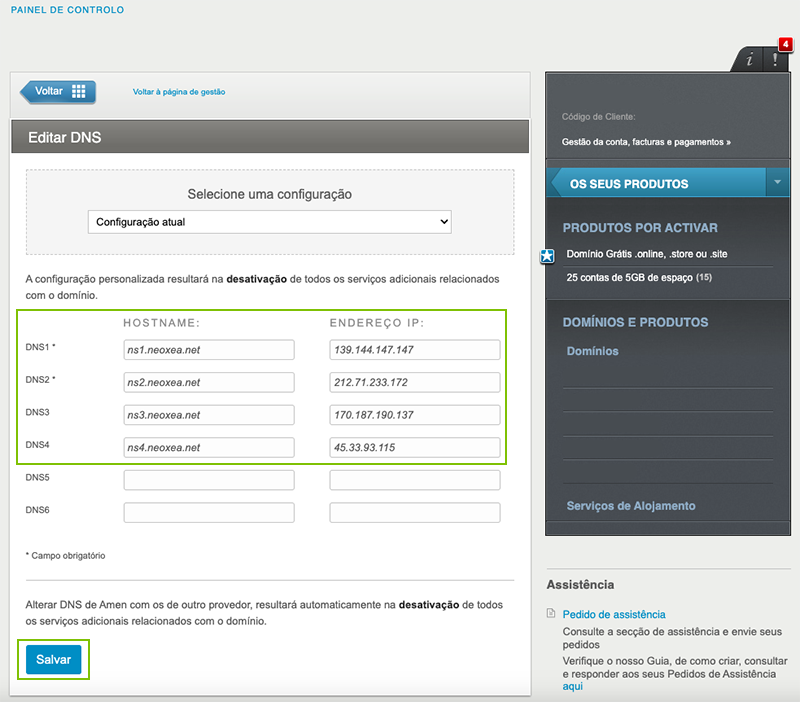
Step 6. Enter the Neoxea DNS information in DNS1, DNS2, DNS3 and DNS4. Each DNS corresponds to the Hostname and IP Address. Click Save.
Step 7. Your domain’s DNS has been successfully changed. These changes can take between 10 minutes and 48 hours to propagate. If you have questions about whether the change was successful or if you need help, please contact our Support Team.